Monday, July 9, 2012

With the miserable weather Friday and Sunday consisted of some cooking and gardening.
Following my post on Friday I finished my chutney and this is maturing nicely in the cupboard- made 6 jars!
Recipe: Green Tomato & Zucchini Chutney
700g zucchini, peeled & diced
700g tomatoes, peeled
300g apples, peeled & diced
300g onion, finely diced
300g sultanas
300g brown sugar
600ml cider vinegar
2 tsp chilli flakes
Tbsp grated ginger
12 cloves
2 tsp black peppercorns
1 tsp coriander seeds

Blanche tomatoes, run under cold water and then remove and discard skins. I do this over the container you are collecting your tomatoes in, as they may burst out during this.
Then place all ingredients in a large pan and simmer for 2 ½ - 3 hours. Leave to cool and then transfer contents to jars and seal for at least 4 weeks. The longer this matures the better the quality of the chutney.

I also attempted my Sourdough bread- with mixed success. This hasn’t put me off; quite the opposite. As I now know where I went wrong- had I just done it by hand as per the recipe it would have been fine.

More successful,
but still room to improve

Makes 2-3 loaves
Sponge
650ml warm water
500g strong bread flour
 
Ladleful of sourdough starter

Dough
Sponge (see above)
600g strong bread flour, plus extra for dusting
25g salt

Dough in breadmaker
Once you have your starter, you need to activate it. So if it is refrigerated like mine get t out a day or two before hand and feed it.
 
Also make the sponge the day before, so it can prove over night- place in a bowl in plastic bag.

Now I attempted one purely using my bread maker- this did not work at all.
  
unsuccessful Breadmaker version

So I made a batch using the mixer for the dough, I think this “knocks it back” too much. As the recipe says to knead it for 10mins, then leave to prove for an hour each time (4 times in total)- this is the “knock back” . The dough setting takes 90minsutes, each time, so think it knocked to much air out of it. This was more successful than the version make totally in the break maker, but was still a little dense. So I’m going to make the next lot entirely by hand.

   
Frozen Chicken Stock

Easy store/use- Best Chicken stock!

This weekend I also cooked one of our home grown chooks for dinner. So, as to make the most of the bird I also make some stock from the carcass. Simply by placing it in a stock pot with a few carrots and sticks of celery, cover with water and simmer (on a low heat) for a few hours. I wanted to add this in, as this is a great way to get great tasting stock and is something you have available anyway. Once I am happy with the flavour, just leave to cool. Then this is my storage tip- Place freezer bags over appropriate sized freezer able containers (plastic dishes, tuppaware etc). Carefully fill the bags to level of container (or near enough). Leaving enough of the bag to tie it off.

Then place in the freezer, til frozen and then you can remove the containers and store the bags- use when required.

Other than that Sunday I managed to get some weeding, sowing and mulching done. In preparation for the warmer months approaching. Whilst it wasn’t the most pleasant day, it wasn’t cold and the drizzly rain was probably ideal for new planting.I was also quite excited as the “vine garden”- the section of the veg garden we dug out last year (that became water logged) and has not been built up. So where I intend to grow tomatoes, pumpkins, cucumbers etc- so vines. Had 2 plants growing in ti, which I am sure are eggplant/aubergine plants! We had great success with 4 of these that I bought as seedlings last year; only they were lost in the wet season- or so I thought!


Whilst I was busy Matt made a start on clearing the bed beside the shed. This had a few drought tolerant plants and yukka trees in it when we bought the place. Unfortunately the trees are becoming too big- both blocking the light to the shed, as well as its roots are going to become problematic to the shed’s foundations. So whilst we had hoped to re-locate these trees, unfortunately this was not possible. Hopefully we can save the few smaller trees still.
But other than the stumps this bed will soon be ready for planting, we decided this is to be the herb garden.  It’s close to the house, good sun and partial shade, whilst hopefully providing a welcoming aroma when approaching the house.




Friday, July 6, 2012

House to myself and so much to do

Well I have the day off today and the house all to myself (Matt's at work) and I have so much planned I am not sure I'm going to get through it all, as it's nearly midday already!

I have delivered the 3 month old Sussex rooster to his new home. I can safely say he will be well loved there with lots of animal friends and 3 little girls to dote on him.


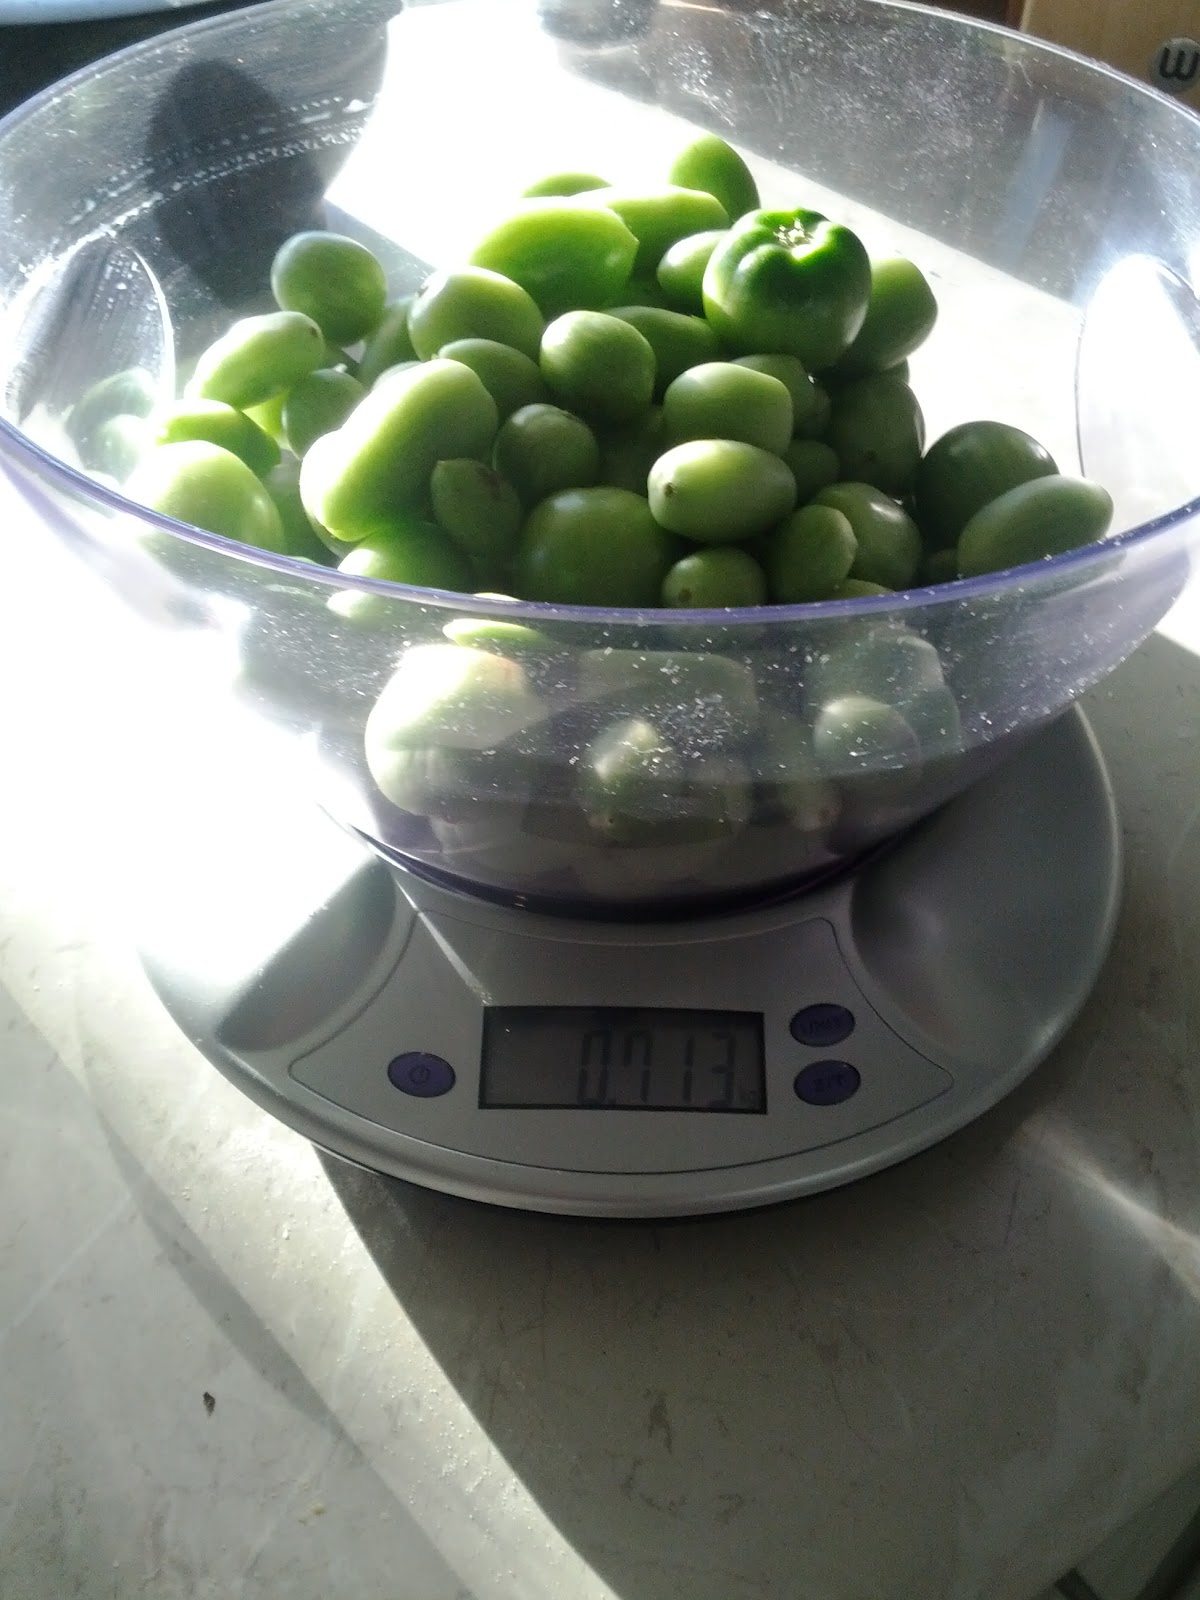
I am in the process of blanching green tomatoes- this glut was taken from one of the recovering sections of the pig pen, before we removed the electric fencing. None of these were planted, just germinated through thier evidently fertile manure! I didn't want them to spoil or get dimolished so I picked them even thoguh thier green. So am planning to make a green tomato and zucchini (courgette- from my garden) chutney. I made this last year and it was delicious- so much so that I had totally forgotten how fiddley cherry and grape tomatoes were to skin! I'll post the recipe with my progress later. 

I have also made a start on my sourdough. I removed the starter from the fridge last night and added water and flour to activate it. This morning I have mixed the sponge- 500g strong bakers flour, 600ml of water with a ladle of the starter, this has to left for a few hours. The book says to do this the night before; only I read it this morning. So if I leave for the rest of the day, I shall attempt the rest this evening.

On the baking theme I thought I'd share the recipe for Hot cross buns that Matt made last night, seasonal I know. Though we left the crosses off.
They were delicious and I enjoyed on this morning for breakfast so well worth the effort.

Makes 8
250g strong white bread flour, plus extra for dusting
250g plain flour
125ml warm water
125ml milk
5g dried yeast
10g salt
50g caster sugar
1 medium egg
100g dried fruit
zest 1/2 orange
1 tsp ground mixed spice


If you were to do this by hand you need to- mix the flours, water, milk, yeast, salt and sugar. Then add egg and butter and mix to sticky dough. Then add dried fruit, zest and spice. Knead untl silky smooth. Cover dough and leave to rise in warm place for an hour.

We used the dough setting on the bread maker for this first stage, so just placed all the ingredients in and let it run.
 Then knock back the risen dough and divide into 8 equal pieces. Shape these into rounds and dust with flour. Place on a floured board, cover with plastic or linen and leave to prove for half an hour- should have roughly doubled in size.


Pre-heat oven 200 degrees, tranfer to lined baking tray and bake for 15- 20 minutes.

Thursday, July 5, 2012

Matt's new toy

Meat grinder has just arrived. Now he just have to workout how it works... then find something to mince

How do you know if your chicks will be roosters?

Roosters to re-home 3m/o
This week I have advertised our 2 young roosters for re-homing. These were the 2 birds we kept from our first hatchlings. And as our first hatchlings I admit that I am making a bit of an effort to re-home them, as opposed eating them. Yes this is a fact of raising chickens, but as our first I guess on some sentimental or emotional level I just want to give them a chance.
The Sussex should going to a new home on Friday- thanks to Facebook and a page Mackay Poultry & Waterfowl for sale. The other, being a cross may not be so fortunate.
My efforts to re-home them meant a friend asked, how can you tell a rooster from a hen? As we have identified ours as roosters, although they are not crowing yet.


So I thought I'd share my experience on this.

Now there are plenty of people who have given us advice on this. And suggested ways to determine the sex of younger chicks, but most seem to be old wives tales.
1st hatchlings
Some such as males are bigger, show their combs and wattles earlier. If you pass a foreign object over the birds the males will stand up, whilst the hens will duck and hide, all sound reasonable or to have some merit. Though to be honest it’s still guess work! I am not convinced they are truly accurate.


Unless you vent them; which can be dangerous to the bird (if performed incorrectly), and this still has a margin of error- hatcheries employ professional to do this. Or are breed from sex-linked stock; which appears to be more effective, but not useful if you’re not cross breeding ( see links) then the answer is (like us) you just have to wait.
Sussex Rooster (being re-homed) 11w/o

When they are older 6-8 weeks onwards; some may need to be a little older, as some are easier to distinguish than
others. Then I look for the following;


Pointed neck feathers, hens have rounded feathers.
 

"Pointed", long think feathers are visible
on our Sussex Rooster (approx 8m/o)
Where the female sussex has rounded neck feathers


Curly tail, again females have small upright tufts, males develop a more flamboyant display. Males also tend to be more colourful, this is common amongst many birds, though again this can be hard unless you have something to compare with.

Indian Game/ Dark Cornish- Rooster closest, hens behind
Male has; curled tail, more colouful, larger comb & wattles.


Larger wattles and combs are a good guide, but a female will also develop these. And if there is no male in a flock, one may be more prominent than others, they sort of assume the alpha role.

Hens, Sussex & Wellsomer (approx 6m/o)
You can clearly see thier feather patterns

Males will also fight with other males, young males may live together for a while, but eventually they will need separating. But even hens have their pecking order, so the odd squabble is normal. This sort of throws a spanner in the works, if this was your only evidence.  But this may be useful confirmation if supported by some of the other identifiers and you’re still not sure.

Add caption
Or you just wait until he starts to crow!


Monday, July 2, 2012

A reminder to move the tanks

After 2 days of getting all those jobs done around the house that had been neglected recently, we were feeling pretty pleased with ourselves. Reminded of the benefits and rewards this lifestyle offers. Only for it to remind us of the challenges it poses its inhabitants.
5.30 on a Sunday evening, I’ve just transferred my veggies and am watering them in. The animals are all cleaned out, with fresh bedding and have just been fed and watered. With the freshly prepared coq-au-vin is simmering in the slow cooker, about an hour to go. I’m beginning to think about the working week ahead- setting aside uniforms and getting ready to jump in a well deserved shower, but there’s nothing. Look out the window to see my sprinkler fading…no water?
Neither of us expected to have used  the 2, 11,000l tanks (fed off and connected to the house). We still have a 48,000l tank attached the shed, which is brimming. It was probably this that fooled us. At least it was still dusk with some daylight left, these things usually happen in the dark!


As these tanks are now empty (well their still probably water in them), this brings us to another major project we need to undertake- move the 2 smaller tanks. This is something we had planned to do this dry season, as soon as the tanks ran out. So Matt permanently disconnected the down pipe connections. Rendering them useless until they are moved and new connections are bought and attached. Guess this adds some sort of urgency to the project. As we do not want to be without 44,000l of tank capacity come the wet season and my family are visiting for a month over Christmas. Given these tanks alone have provided our water supply for this calendar year (so 6 months), we need them back online.
The tanks need moving as they are actually on and not inside the property boundary. An oversite (and naivety) on our part when buying the place and ignorance on the part of our neighbour. It was only discovered late last year when the neighbour  went to erect fencing between the paddocks (something that had not been done by the previous owners).
So initially we disconnected, moved and redirected the stormwater connections to the largest of the 3 tanks, that was/is connected to the shed. As this one was half used, having run the other 2 low and then filled them with bore water. This was then followed closely by the wet season, so it was discussed that we would move them once they ran out this year.
Moving the last 2 will not be as straight forward as the first. As the downpipe supply from the house to the tanks are all underground and the tanks themselves, unlike the bigger one are semi-submerged.  But it has to be done, and now we’ve made a start- so watch this space.


Friday, June 29, 2012

Candling eggs

We currently have a few duck eggs and chicken eggs in the incubator. No this is not an expensive (we picked it up from EBay for a little over $60)and yes we do turn the eggs manually. However we have successfully hatched 2 rounds of chickens, so since our ducks have started to lay, we’re attempting them too.
So I thought I’d just take a few pics of the ‘candling process’. Essentially after approximately a week (for chicken or in this case duck eggs) we take a small (hand sized) LED torch, place it close to the egg shell, in a darkened room (or corner) and you can clearly see the actively inside.

Now anon-fertilised egg will remain distinctly fluid and you will be able to identify the yolk, it will bob to the top of the egg as it is turn. We remove these (allowing more room for the eventual hatching chicks/ducklings).
In these pictures (although their not great quality- I’ll try and get better ones next time) you can clearly see a solid form developing, and veins. These eggs have been fertilised and are growing little birds!
Place these back in as soon as possible and replace the lid, as they need to be kept at a consistent temperature and humidity. Too long out of the incubator could destroy their development.   

Sourdough Starter

Meet the most recent addition to the house. Apparently I should build a relationship with this and treat it as a pet. Well it should be with us for some time and I have to nurture and feed it- so I can see the comparison.
 This is my sourdough bread starter. We are following the recipe/instructions from our favourite series/author Hugh Fearnley- Whittingstall and River Cottage. (We have follwed this from the first series on Channel 4 in the UK, and is available on lifestyle on Austar for anyone in Oz. I actually booked Matt into a day course at River Cottage HQ, on our visit home last year.- but now I'm going off track. But basically if you get chance to look this up; there's a website, books, DVDs TV series I recommend it!)  http://www.rivercottage.net/

Anyway, from the series and the Bread handbook (3), we have started our own sourdough bread starter.
Basically this will produce live yeast that we will use for our bread in the future. With each batch you use half your starter and then feed it, to replenish the stock for the next.

To start we have used 150g of wholemeal flour and 250ml of warm water, whisked and left to develop. Cover with a lid or Clingfilm (this isn't clear initially in the instructions, so ours took 2 days to start developing). Then when you can see some action (bubbles and the beginning of a fermenting smell) add a further 150g of flour and 250ml warm water, whisk then recover. On the 3rd
day you now discard half the starter (or use it to start a second) then add 150g flour and 250ml of cold water. This process is continued for the remainder of the week. At this stage it should be ready to use for baking.

At this stage we are at day 5. Am hoping to use this starter on Sunday, if not then I should have time next Friday, so it should be beginning to develop its own flavour and aroma; As each starter will be individual to its environment.


I was initially concerned (as we live in the tropics- not that is an
 issue at the moment, as its winter) that the starter would become too active or smelly, but if your only planning on using it once a week or less, then the activity can be reduced by keeping it in the fridge (you can even freeze it). So I am hoping this system will work for us. As a batch (or ½ the starter) should produce 2-3 loaves (depending on their size etc), which would be ample for us.

So meet our sourdough starter, its 5 days old…